Google Colab Web UI
Decent performance and easiest setup for standard use.
Kaggle
Generous free GPU quotas. Great alternative if Google Colab is limited.
Lightning.AI
Persistent storage and powerful GPUs.
Decent performance and easiest setup for standard use.
Generous free GPU quotas. Great alternative if Google Colab is limited.
Persistent storage and powerful GPUs.
 - **3. Second Cell:** When it finishes (it will output `Done! Proceed with the next steps`), run the second cell.
 - **4. Ngrok:** Scroll to the last cell, place your [Ngrok token](https://dashboard.ngrok.com/get-started/your-authtoken) in the `TOKEN_HERE` field.
 - **5. Launch:** Run the cell. (Optional) Under the token field, you can change the region selection for lower latency. Once it finishes downloading, click the generated Ngrok link to start the Web UI.
***
:::content-center
### Kaggle
:::
!!!danger Kaggle Service
**Check the [Kaggle Glossary](https://docs.aihub.gg/extra/glossary/#kaggle) for more info on Free Tier, Limits, Verification, Pricing and other things.**
!!!
#### Account Setup
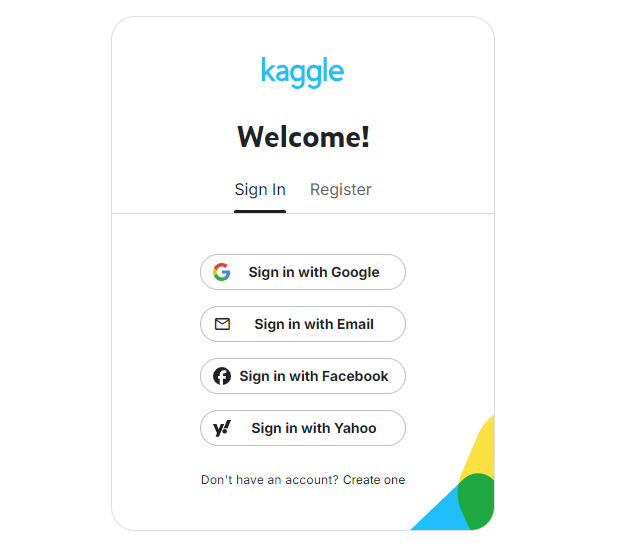
- Start by making an account [here](https://www.kaggle.com/account/login?phase=startRegisterTab&returnUrl=%2F).
- **5. Launch:** Run the cell. (Optional) Under the token field, you can change the region selection for lower latency. Once it finishes downloading, click the generated Ngrok link to start the Web UI.
***
:::content-center
### Kaggle
:::
!!!danger Kaggle Service
**Check the [Kaggle Glossary](https://docs.aihub.gg/extra/glossary/#kaggle) for more info on Free Tier, Limits, Verification, Pricing and other things.**
!!!
#### Account Setup
- Start by making an account [here](https://www.kaggle.com/account/login?phase=startRegisterTab&returnUrl=%2F).
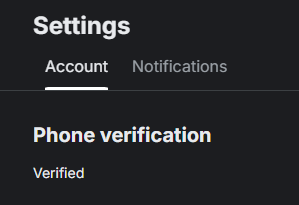
 - Verify your account with a phone number. This is required to enable the "Internet" option in your notebooks, which is necessary for downloading models and dependencies.
 #### Notebook Creation & Setup
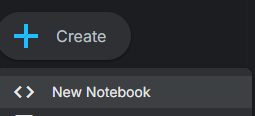
- **Create:** Go to [Kaggle](https://www.kaggle.com) and click **Create** then **New Notebook** at the top left.
#### Notebook Creation & Setup
- **Create:** Go to [Kaggle](https://www.kaggle.com) and click **Create** then **New Notebook** at the top left.
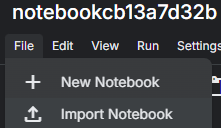
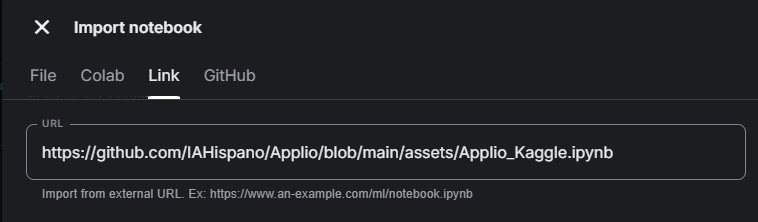
 - **Import:** Under your session's name click **File** then **Import Notebook**.
 - **Link:** In the new window, click the **Link** tab and paste the following URL: `https://github.com/tg-develop/voice-changer/blob/master-custom/Kaggle_RealtimeVoiceChanger.ipynb`. Click **Import**.
 - **Settings:** In the sidebar on the right, turn on the **Internet** switch. Make sure persistence is set to **Files and variables**.
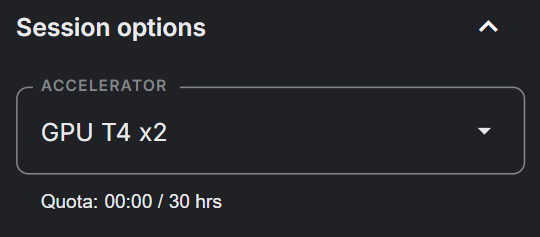
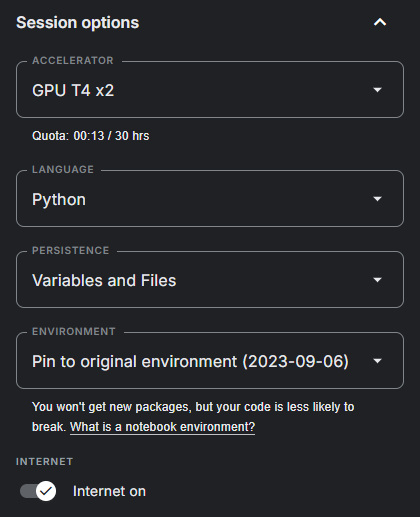 - **GPU:** Turn on T4 x2 GPUs in the Accelerator settings.
 - **Save:** (Optional) Turn on "Save version" to save your progress.
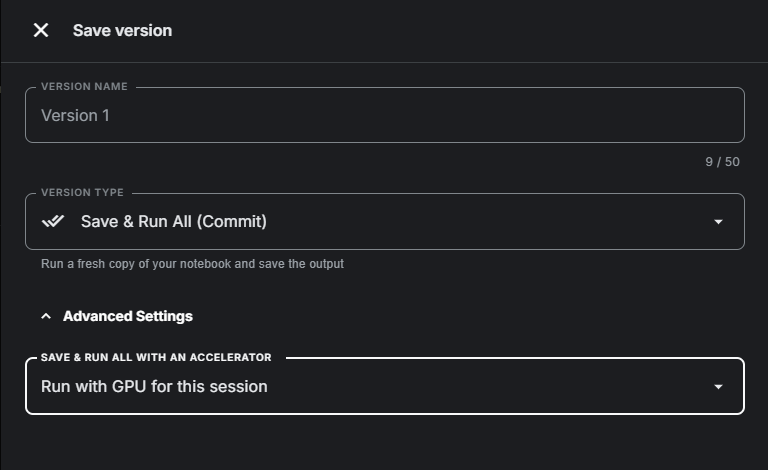 !!!warning
Your runtime will continue draining when you're not running any cells with this option on.
!!!
#### Installation & Tunnels
- **Install:** Starting from the top, run the first installation cell. When it outputs `Done! Proceed with the next steps`, run the third cell.
!!!warning
Your runtime will continue draining when you're not running any cells with this option on.
!!!
#### Installation & Tunnels
- **Install:** Starting from the top, run the first installation cell. When it outputs `Done! Proceed with the next steps`, run the third cell.

 - **Ngrok:** Put your token in the last cell.
 ***
:::content-center
### Lightning.AI
:::
!!!danger Lightning.AI Service
**Check the [Lightning.AI Glossary](https://docs.aihub.gg/extra/glossary/#lightningai) for more info on Free Tier, Limits, Verification, Pricing and other things.**
!!!
#### Create an Account
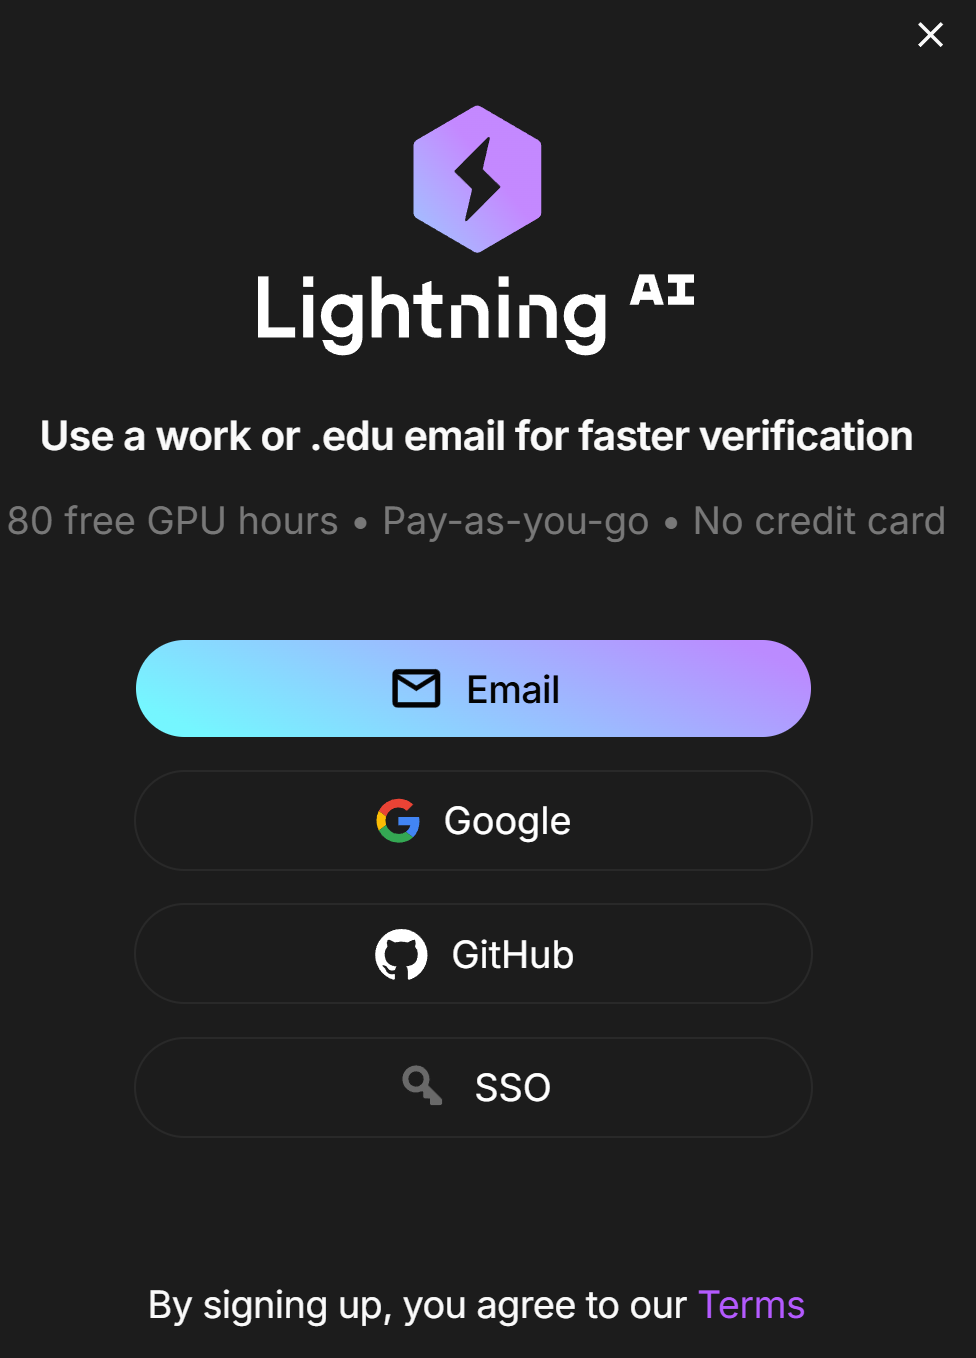
- First, make an account with [Lightning Ai](https://lightning.ai).
***
:::content-center
### Lightning.AI
:::
!!!danger Lightning.AI Service
**Check the [Lightning.AI Glossary](https://docs.aihub.gg/extra/glossary/#lightningai) for more info on Free Tier, Limits, Verification, Pricing and other things.**
!!!
#### Create an Account
- First, make an account with [Lightning Ai](https://lightning.ai).
 - Make sure you verify yourself with a phone number. Once you've done that you will get an email that looks like this:
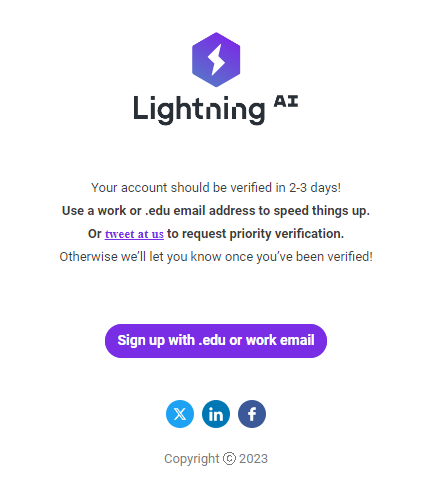 !!!danger Verification Time
You will need to wait 2-3 business days to become fully verified.
!!!
- **Studio:** Clone the [Wokada-TgDevelop-Fork Studio](https://lightning.ai/nick088/studios/wokada-tg-develop-fork).
!!!danger Verification Time
You will need to wait 2-3 business days to become fully verified.
!!!
- **Studio:** Clone the [Wokada-TgDevelop-Fork Studio](https://lightning.ai/nick088/studios/wokada-tg-develop-fork).
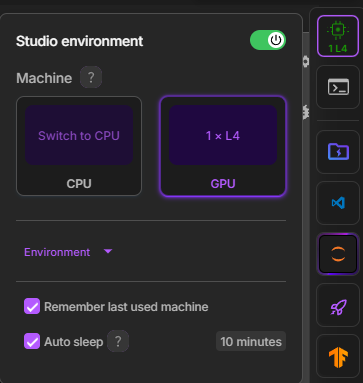
 - **GPU:** Switch to a GPU environment (Studio Environment -> Switch To GPU).
 - **Install:** Run the first cell to install, run the second cell to configure.
- **Tunnels:** In the third cell, choose your tunnel (Port Viewer recommended) and run it. Use the provided file drive to upload models and TensorBoard to monitor training.
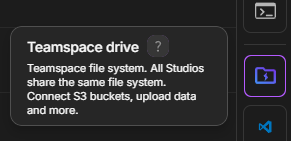
- **File Management:** Use the **Teamspace Drive** button on the right sidebar to upload files.
- **Install:** Run the first cell to install, run the second cell to configure.
- **Tunnels:** In the third cell, choose your tunnel (Port Viewer recommended) and run it. Use the provided file drive to upload models and TensorBoard to monitor training.
- **File Management:** Use the **Teamspace Drive** button on the right sidebar to upload files.
 - **Maintenance:** If you need to update the Program or start fresh, you can run the final cell in the notebook, "Delete everything". This will remove all downloaded files and configurations from your persistent storage, allowing for a clean installation by re-following the notebook with perhaps a changed branch variable.
***
:::content-center
## Usage
:::
Now that you have the Web UI running, the rest of the process is **identical to using a local installation.**
[!button text="Continue with the Local Guide" icon="arrow-right" target="blank"](https://docs.aihub.gg/realtime-voice-changer/local/tg-develops-w-okada-fork/#voice-models)
***
:::content-center
## Troubleshooting
:::
==- :icon-terminal: Getting Detailed Server Logs (Debug Mode)
The web interface (client) is just a control panel; the actual voice conversion and backend processes happen on the server. If the cloud server crashes or fails to launch properly, you can enable **Debug Mode** to read the exact error logs directly in your notebook's output cell.
To do this, you need to append the `--log-level debug` argument to the command that launches the server.
+++ Google Colab
1. Scroll to the bottom of your notebook to find the cell that starts the server.
2. Look for the execution command: `!./ML_Program`
3. Add the debug flag to the end of the command so it looks like this:
```bash
!./ML_Program --log-level debug
```
4. Run the cell again.
+++ Kaggle & Lightning.AI
1. Locate the final cell in your notebook/studio that actually starts the server.
2. Look for the execution command: `!./VoiceChanger`
3. Add the debug flag to the end of the command so it looks like this:
```bash
!./VoiceChanger --log-level debug
```
4. Run the cell again.
+++
The notebook output cell will now print detailed debug logs. If the server crashes, **copy the text output from that cell**. Save it to a `.txt` file, or paste it to a site like [Pastebin](https://pastebin.com/) to share with others when asking for support.
!!!info Other Log Levels
By default, the server runs on the `info` log level. While the server also supports `warning`, `error`, and `critical` levels, you should avoid using them for troubleshooting. They filter out background information, hiding the context developers need to figure out why your server crashed.
!!!
===
!!!info General Troubleshooting
Because the web interface and core server function the exact same way, most common errorsare identical to the local version.
[!button text="View Local General Troubleshooting" icon="tools" variant="secondary"](https://docs.aihub.gg/realtime-voice-changer/local/tg-develops-w-okada-fork/#troubleshooting)
!!!
***
######
:::content-center
#### `You have reached the end.`
[!badge variant="info" size="xl" corners="pill" icon="paper-airplane" iconAlign="right" text="Report Issues"](https://docs.aihub.gg/contributions/)
:::
- **Maintenance:** If you need to update the Program or start fresh, you can run the final cell in the notebook, "Delete everything". This will remove all downloaded files and configurations from your persistent storage, allowing for a clean installation by re-following the notebook with perhaps a changed branch variable.
***
:::content-center
## Usage
:::
Now that you have the Web UI running, the rest of the process is **identical to using a local installation.**
[!button text="Continue with the Local Guide" icon="arrow-right" target="blank"](https://docs.aihub.gg/realtime-voice-changer/local/tg-develops-w-okada-fork/#voice-models)
***
:::content-center
## Troubleshooting
:::
==- :icon-terminal: Getting Detailed Server Logs (Debug Mode)
The web interface (client) is just a control panel; the actual voice conversion and backend processes happen on the server. If the cloud server crashes or fails to launch properly, you can enable **Debug Mode** to read the exact error logs directly in your notebook's output cell.
To do this, you need to append the `--log-level debug` argument to the command that launches the server.
+++ Google Colab
1. Scroll to the bottom of your notebook to find the cell that starts the server.
2. Look for the execution command: `!./ML_Program`
3. Add the debug flag to the end of the command so it looks like this:
```bash
!./ML_Program --log-level debug
```
4. Run the cell again.
+++ Kaggle & Lightning.AI
1. Locate the final cell in your notebook/studio that actually starts the server.
2. Look for the execution command: `!./VoiceChanger`
3. Add the debug flag to the end of the command so it looks like this:
```bash
!./VoiceChanger --log-level debug
```
4. Run the cell again.
+++
The notebook output cell will now print detailed debug logs. If the server crashes, **copy the text output from that cell**. Save it to a `.txt` file, or paste it to a site like [Pastebin](https://pastebin.com/) to share with others when asking for support.
!!!info Other Log Levels
By default, the server runs on the `info` log level. While the server also supports `warning`, `error`, and `critical` levels, you should avoid using them for troubleshooting. They filter out background information, hiding the context developers need to figure out why your server crashed.
!!!
===
!!!info General Troubleshooting
Because the web interface and core server function the exact same way, most common errorsare identical to the local version.
[!button text="View Local General Troubleshooting" icon="tools" variant="secondary"](https://docs.aihub.gg/realtime-voice-changer/local/tg-develops-w-okada-fork/#troubleshooting)
!!!
***
######
:::content-center
#### `You have reached the end.`
[!badge variant="info" size="xl" corners="pill" icon="paper-airplane" iconAlign="right" text="Report Issues"](https://docs.aihub.gg/contributions/)
:::